Create a Budget-Friendly RC Trainer Plane Using Foam
Introduction
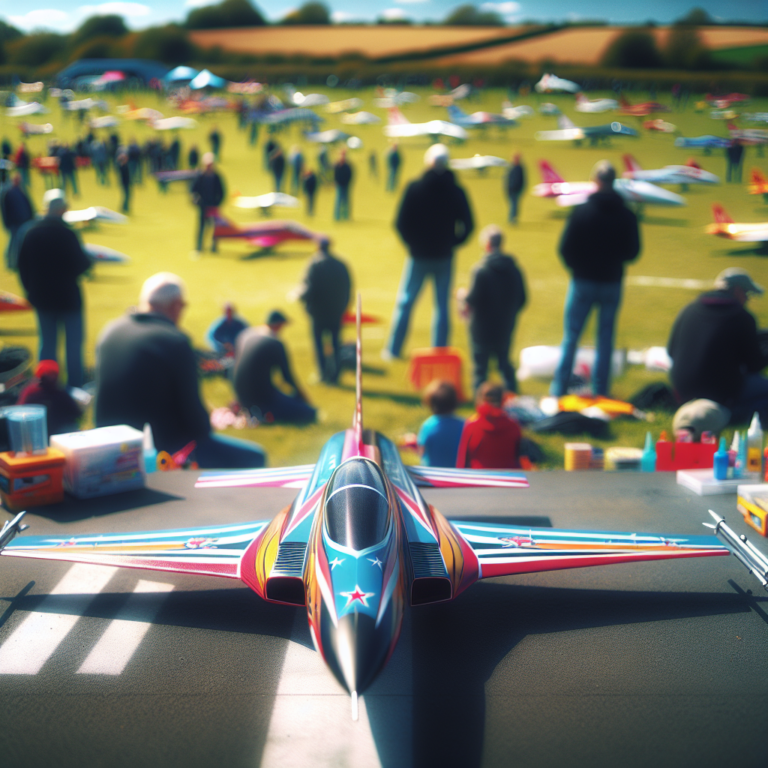
Building your own RC trainer plane can be a fun, rewarding, and educational project that doesn’t need to break the bank. In this article, we’ll walk you through the steps to create a budget-friendly RC trainer plane using foam. Utilizing readily available materials and tools, even novices in the hobby can follow along and get their plane flying in no time.
Why Choose Foam for Your RC Trainer Plane?
Foam offers several advantages, making it an excellent choice for building RC trainer planes:
- Cost-effective: Foam sheets are inexpensive compared to other materials like balsa wood.
- Lightweight: Foam planes are lighter, making them easier to handle and pilot.
- Durable: Foam can absorb impacts better, meaning your plane is more resilient to crashes.
- Easy to work with: Foam is simple to cut, shape, and glue, even for beginners.
Materials and Tools You Will Need
Materials
- Foam board (such as Dollar Tree foam board)
- Hot glue sticks
- Packing tape
- Sanding block
- Clear spray paint (for waterproofing, optional)
- Electronics (motor, ESC, battery, receiver, servos, propeller)
Tools
- Hot glue gun
- Utility knife
- Metal ruler
- Cutting mat
- Pen or marker
- Power drill (optional, for specific motor mounts)
Step-by-Step Instructions
Step 1: Design Your Plane
Start by finding a simple trainer plane design. There are numerous free plans available online tailored for foam construction. You can also create your own design using basic principles of aerodynamics.
Step 2: Cut Out the Foam Pieces
Use your utility knife and metal ruler to cut out the foam pieces for your plane. You will need:
- Fuselage
- Wings
- Vertical and horizontal stabilizers
- Ailerons (optional)
Ensure clean, straight cuts for the best assembly results. Sand down any rough edges with your sanding block.
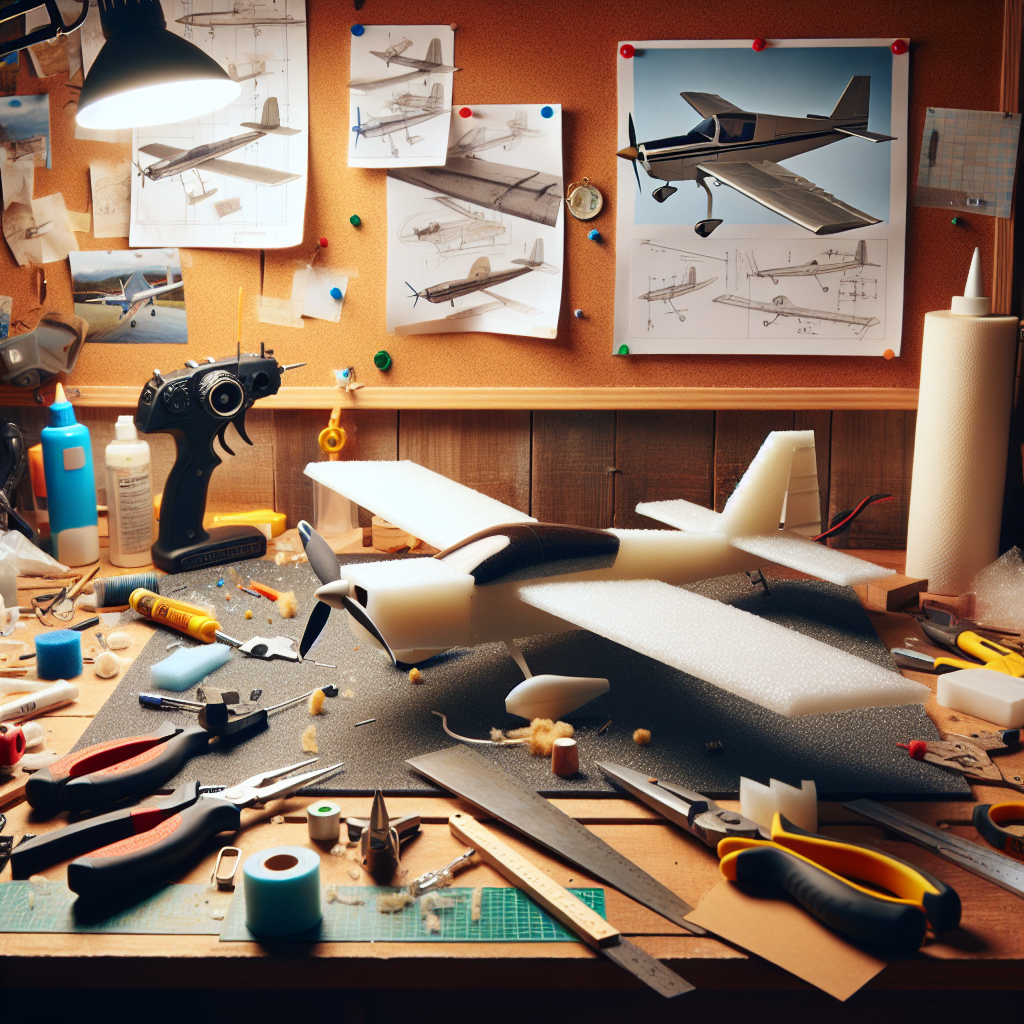
Step 3: Assemble the Fuselage
Begin by assembling the fuselage. Lay out the pieces and reinforce joints with hot glue. Use packing tape to add extra strength to high-stress areas. Ensure everything is aligned properly before proceeding.
Step 4: Attach the Wings and Stabilizers
Next, affix the wings to the top of the fuselage. Ensure they are level and secure. Repeat this process for the vertical and horizontal stabilizers. If your design features ailerons, cut them out and attach them to the wings using packing tape as hinges.
Step 5: Install Electronics
Mount the motor on the front of the fuselage and secure it with the necessary hardware. Install the Electronic Speed Control (ESC), battery, and receiver within the fuselage. Use hot glue to affix servos to their appropriate positions (typically for the rudder, elevator, and ailerons). Connect all the electronics according to the manufacturer’s instructions.
Step 6: Perform a Pre-Flight Check
Before heading out to your local flying field, perform a thorough pre-flight check:
- Check and double-check all electronic connections.
- Ensure the control surfaces (rudder, elevator, ailerons) move in the correct direction and to the full extent.
- Verify that the motor is securely mounted and operational.
- Calibrate your transmitter with the plane’s receiver.
Optional Enhancements
To further customize your RC trainer plane, consider these optional enhancements:
- Waterproofing: Apply a light coat of clear spray paint to protect the foam from moisture.
- Reinforcements: Add wooden dowels or carbon fiber rods to increase structural integrity.
- Landing Gear: Attach simple landing gear made from wire and wheels to enable smoother takeoffs and landings.
Conclusion
Creating a budget-friendly RC trainer plane using foam is a fantastic way to dive into the world of radio-controlled aviation. The simplicity, affordability, and forgiving nature of foam make it ideal for beginners and seasoned hobbyists alike. Follow our step-by-step guide, and you’ll have a functional and fun RC plane in no time. Happy flying!